

We here at Stage 3 aren't very good at leaving anything alone for any given period of time, so we made an executive decision to add even more height onto our 2012 F150 EcoBoost FX4 Project Truck on top of its current Zone 6" Suspension Lift Kit. The first step of the process was to bring up the rear of the truck, and to that end we grabbed a 2009 to 2014 F150 Pro Comp Add-a-Leaf Kit to get roughly 1" to 1.5" of rear lift. The Add-a-Leaf kit consists of two, new leaf springs that install into your truck's leaf pack to provide some extra ride height without compromising ride quality or towing capacity. Install is pretty basic, though getting the stud holes in the springs to all line back up while compressing them can be a bit tricky. Still, this job is totally doable as a DIY. After install, our truck gained about 1.5" of ride height which should settle down a bit after the springs are broken in, but we achieved our goal and our ride is still butter smooth.

Since we had to get pretty pictures and video of the install, we headed down to Dyno-Comp where our dear friends Matt and Clay were waiting to help us get our Add-A-Leaf Kit up and running on the truck. They got it up on their lift and started the install by removing the rear wheels and tires.


With the wheels off, the guys got the truck up in the air and busted out the Add-a-Leaf kit.

Before the leafs could get shoved into the truck, our F150's block and U-bolts needed to come out in order to get at the leaf packs. The first step of that process was to support the rear axle with a transmission jack.


Next, Matt removed the nuts holding the U-bolt bracket to the axle.


With the nuts off, Matt removed the U-bolt bracket and U-bolts before lowering the rear axle to get enough clearance to pull the block out.

After he got the axle low enough, Matt removed the rear block.
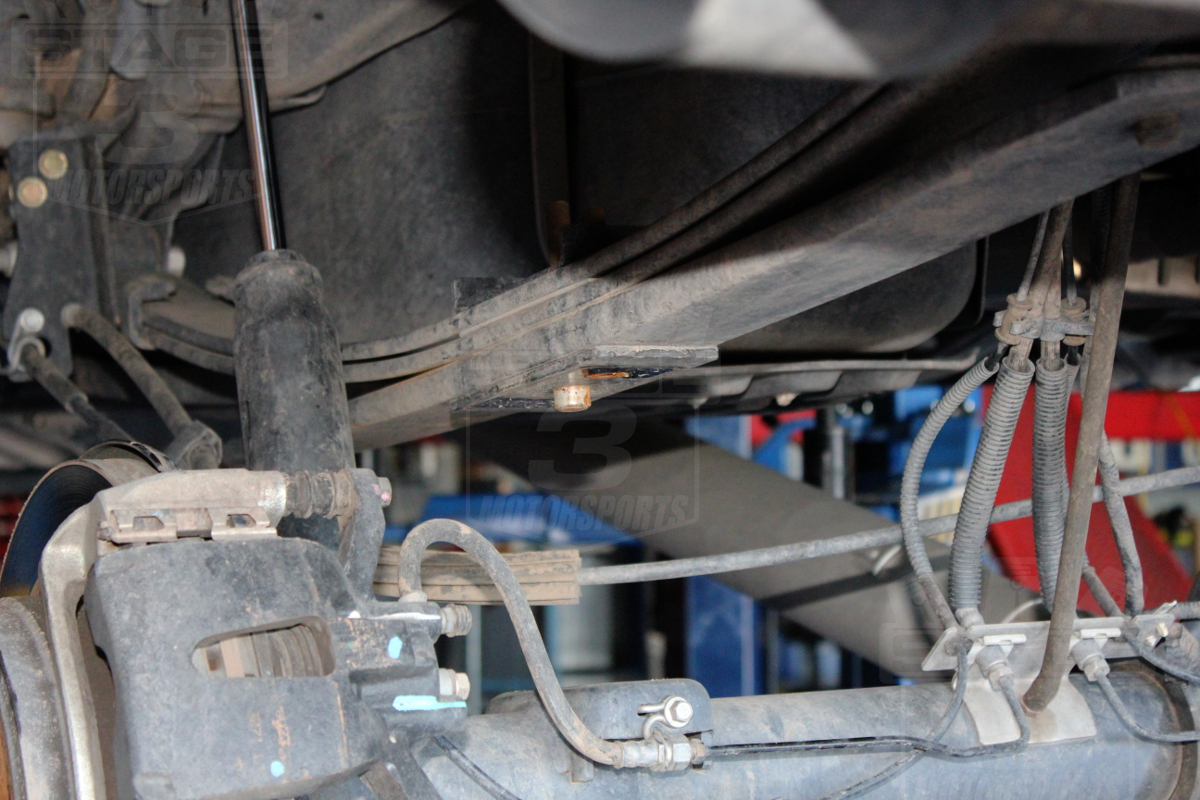
Next, Matt removed the nuts for the leaf bracket bolts to free the leaf pack to slide in the Add-a-Leaf for the driver's side.

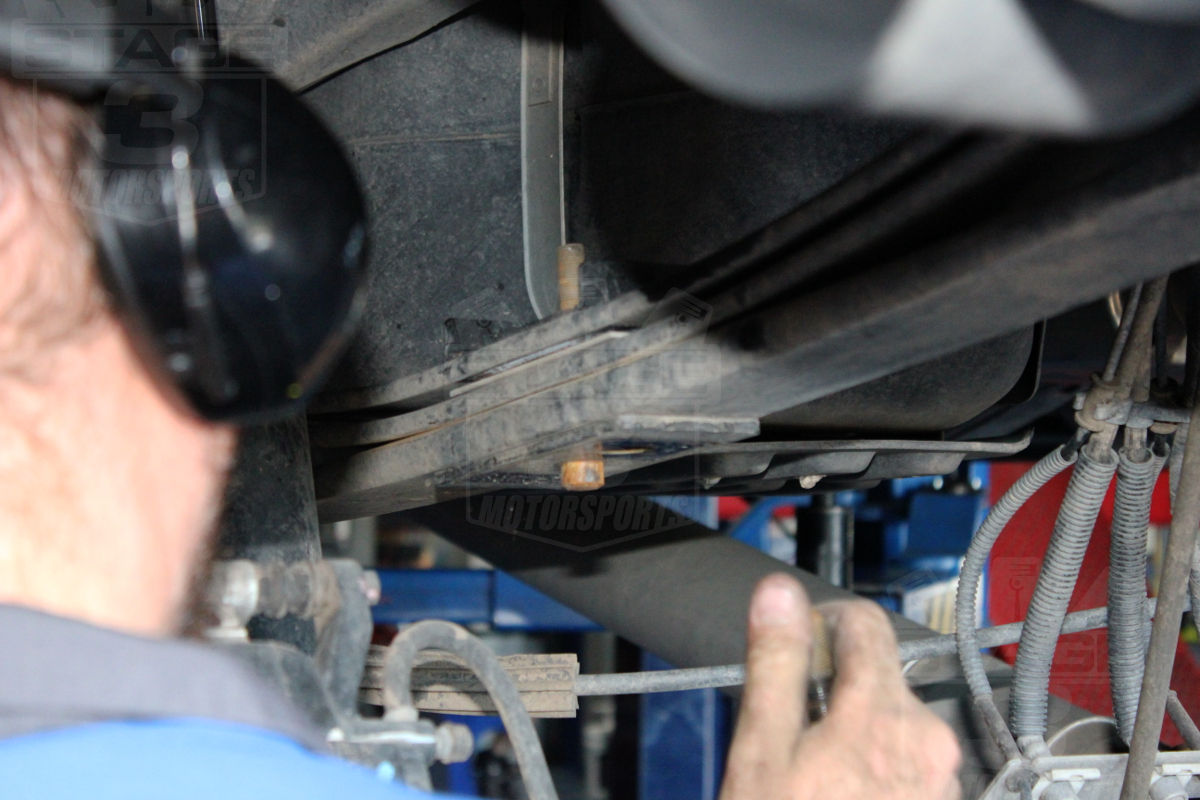

With the nuts free, Matt removed the leaf spring studs from the leaf pack and left the brackets and small, lower leaf resting on the axle. He then grabbed the driver's side Add-a-Leaf spring and set it in place.


Once the new leaf spring was more or less in place, Matt enlisted the help of Clay in keeping the springs all aligned while he lifted the axle back into proper position using the transmission jack.

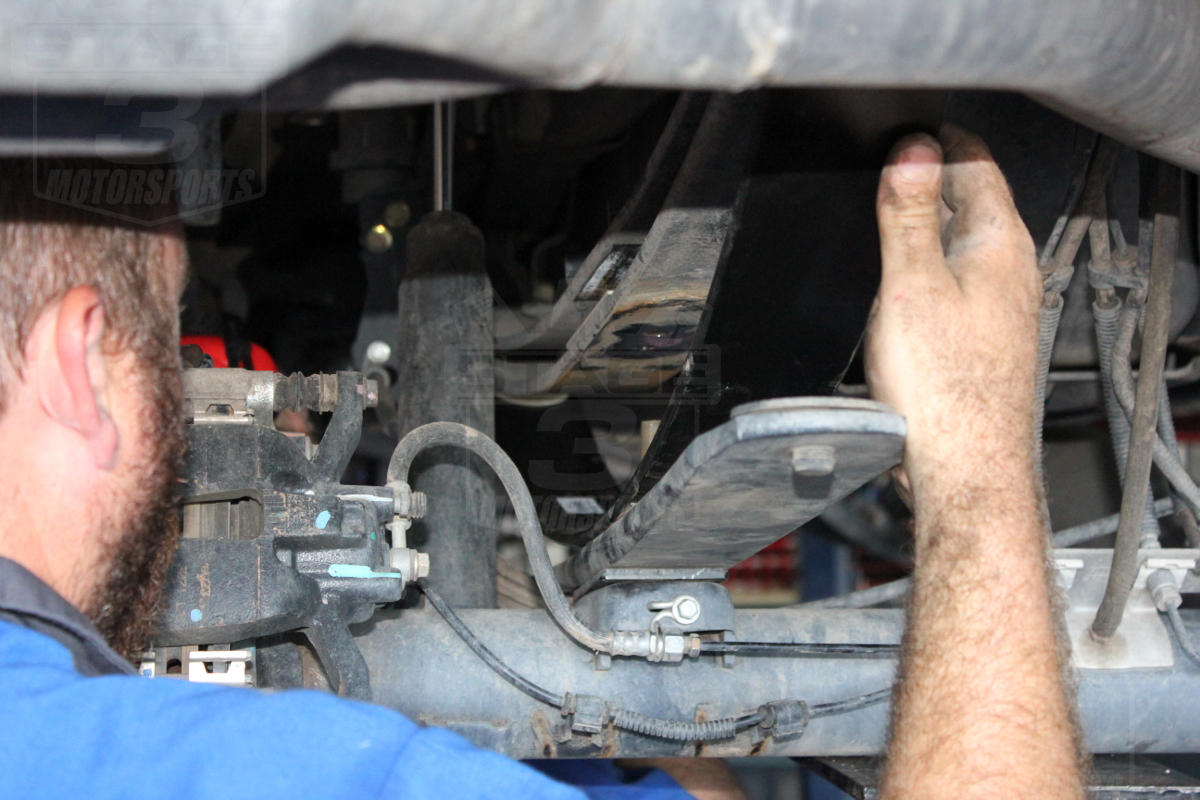
The guys didn't have much luck keeping the stud holes aligned by hand, so they grabbed a pair of socket extensions and fit them all the way through the leaf pack, Add-a-Leaf, lower leaf spring, and mounting brackets before jacking the axle back up.
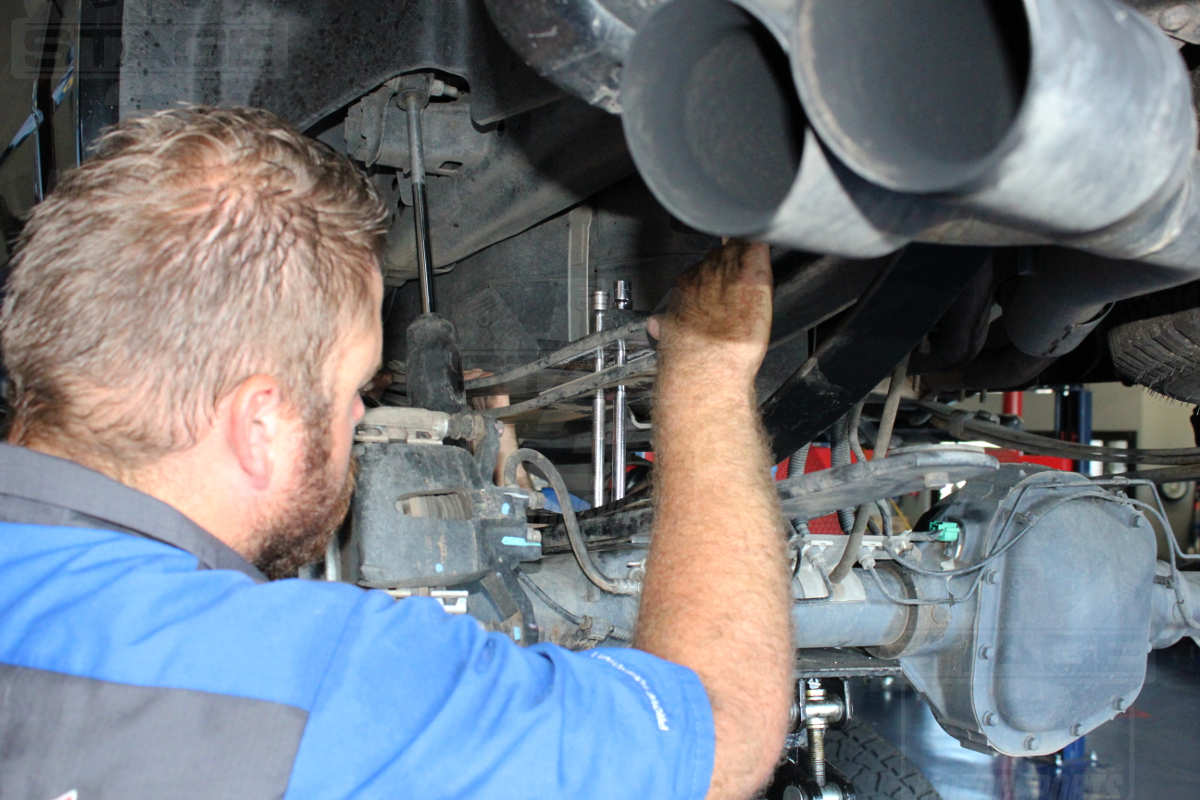
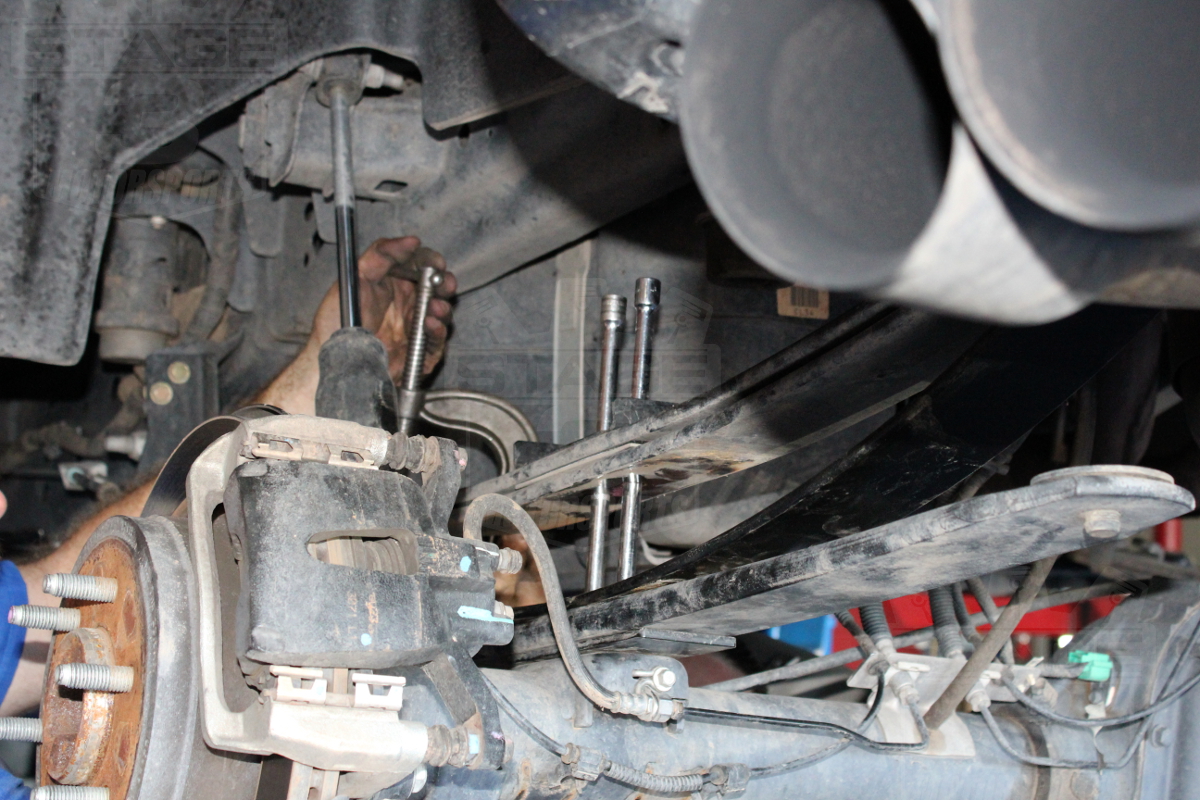
Eventually, the guys maxed out the height of their transmission jack and had to go grab a pair of C-clamps to finish compressing down the Add-a-leaf spring to the rest of the leaf pack.


After some turning and compressing with their C-clamps, the guys were able to pull out the socket extensions and install the new leaf studs through the mounting brackets and leaf pack.

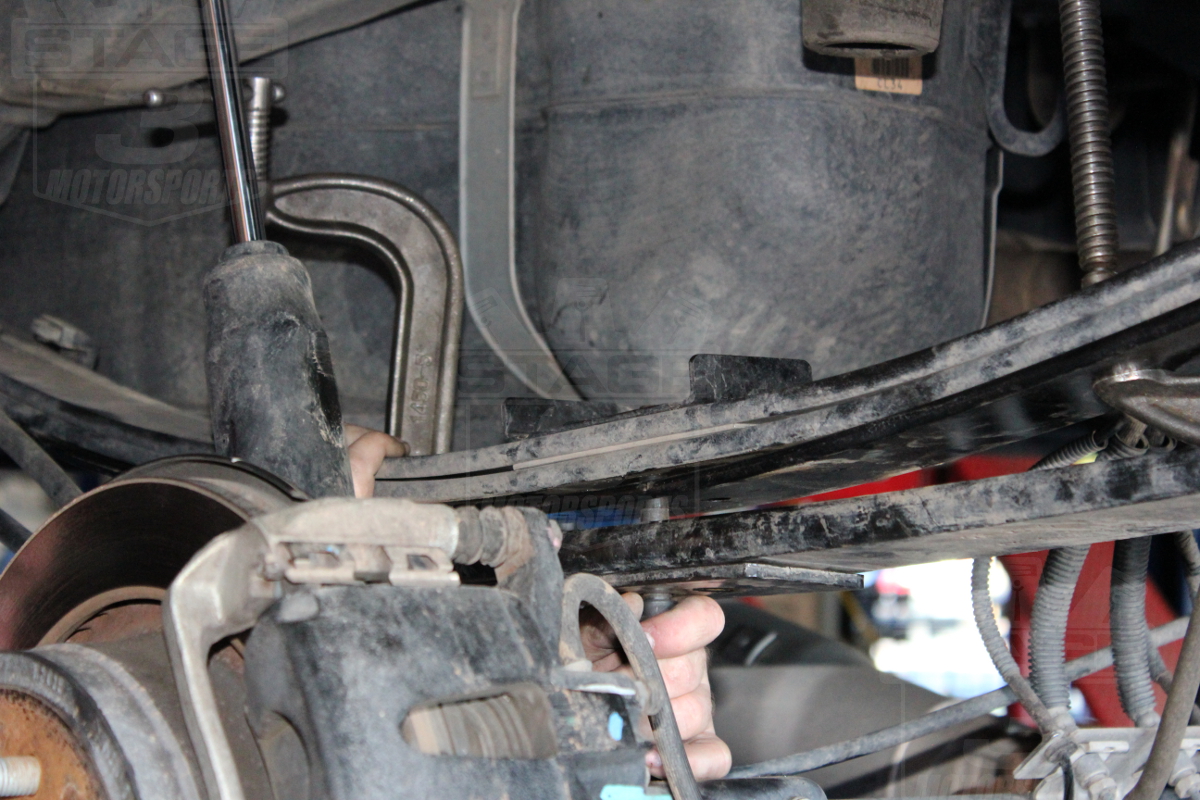
Once the stub bolts were in place, Matt threaded on the nuts onto the upper U-bolt bracket and tightened them down.

With the nuts back in place, the guys reinstalled the rear block and pulled their C-clamps from the leaf pack.


Once they got the block in, the guys fit the U-bolts and U-bolt bracket back on and bolted it down with the U-bolt nuts. Our U-bolts were just long enough to handle the extra bit of width of the Add-a-Leaf with about six or seven threads to spare once the nuts were tightened down to spec.

With everything reinstalled, our driver's side Add-a-Leaf install was complete.


Now that guys had the driver's side under their belt, the passenger's side went much quicker. The guys began by supporting the passenger's side of the axle with their transmission jack and then removing the nuts holding the U-bolt bracket in place.

With the bracket out, Matt removed the U-bolts and lowered the transmission jack to free up the block.

Once he got enough clearance, Matt removed the rear block.

Matt then removed the studs holing the leaf back together between the upper and lower brackets.


Instead of wasting time trying to keep spring alignment by hand, Matt and Clay went straight for the socket extensions to keep the stud holes straightened up and set the Add-a-Leaf into place on the axle.

Again, they maxed out the height on their transmission jack and grabbed a couple of C-clamps to finish the job.


They finally got the Add-a-Leaf and leaf pack compressed together enough that they were able to remove the socket extensions and fit the leaf pack studs through the entire pack and lower leaf spring.


The guys then fit on the nuts for the leaf studs and got them tightened down.


With the studs and brackets firmly in place, the guys fit the block back into place.

Once the block was back in, Clay dropped the U-bolts into position over the upper bracket.
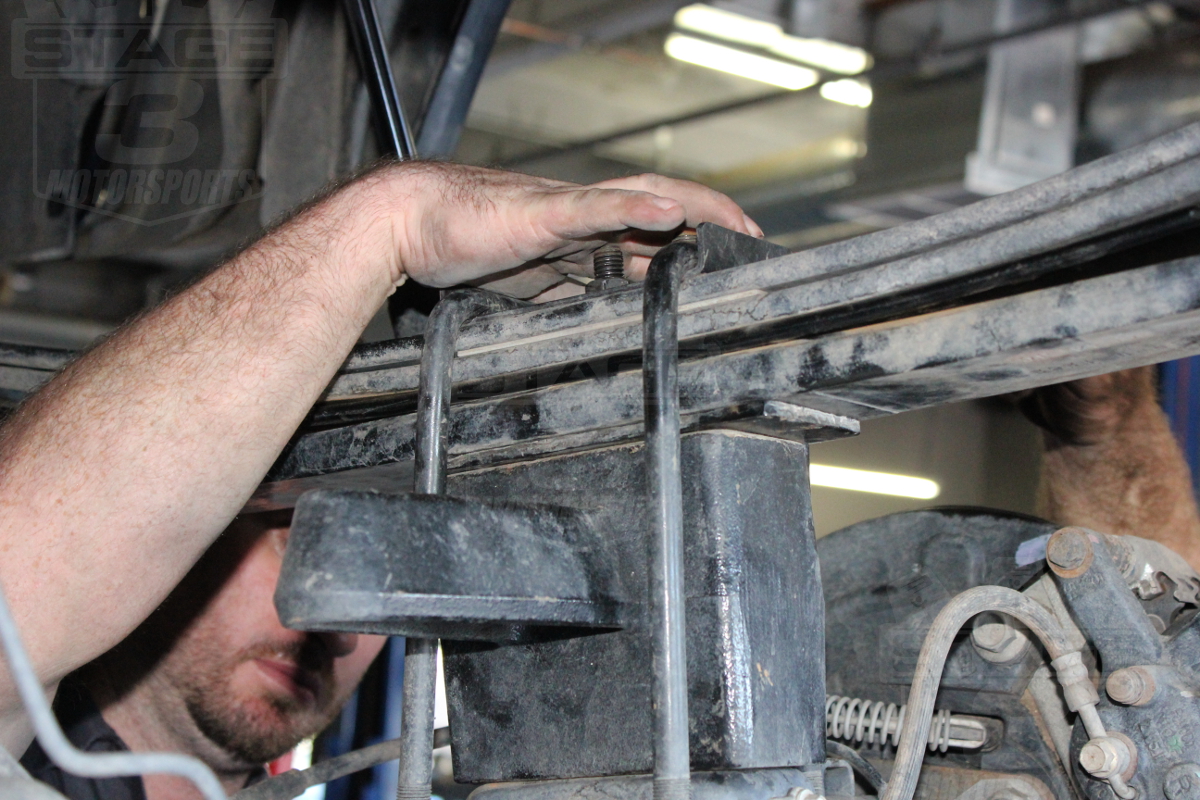
Clay then installed the lower U-bolt bracket, and Matt fit the nuts onto the U-bolts.


Matt then completely tightened the U-bolt nuts, and our install was complete.

The end result was a good bit of extra lift for the rear of our project truck.


1 Comments
Medie Still
Now that these have been on the truck for a while, have they settled any? What's the overall lift now?
